Obviously, these are toys, but they're meant for all ages. They're also especially good at making you (or me in this case) look like an enormous dork, but since when has kayaking in general been a very flattering sport?
Anyhow, I'm going to post up a three or four part series on how to make one, paint it, and tune it to run the gnar with confidence. Here is part one...
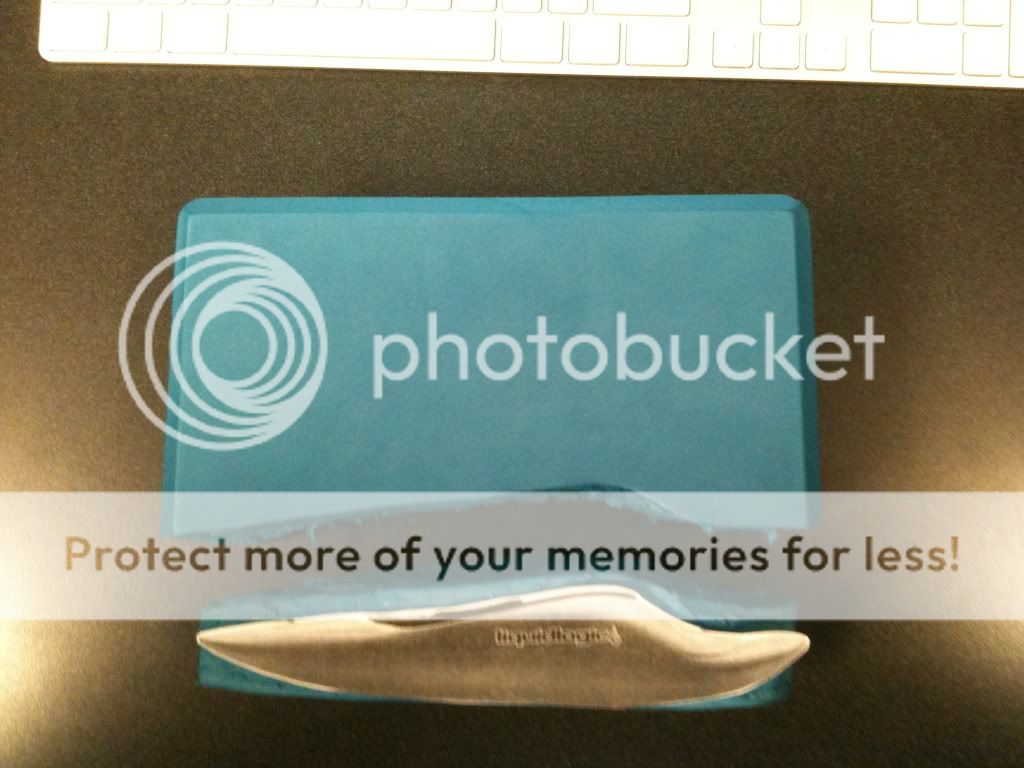
First we start off with a block of foam or wood. Since I couldn't find any basswood for a decent price around where I live, I opted to use foam. Specifically, I decided to use a foam yoga block. You can get them for relatively cheap, and probably make at least two complete foamies out of a single block.

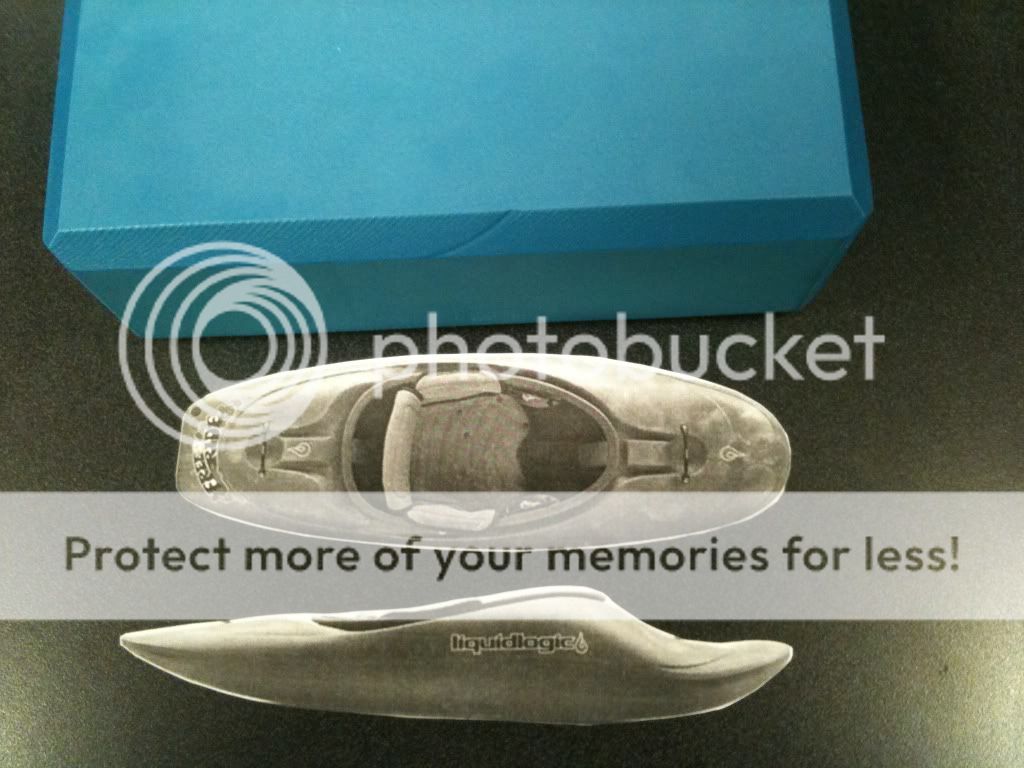
For my design, I opted to go with the popular and super cool Liquidlogic Freeride. I want my foamie to look and behave like a playboat/river runner, so it's a perfect design. I simply found a side and top profile picture online and scaled it to the size I wanted, printed it, then cut them out to use as a basic guide for cutting the main form out of the foam block.


Then, I started cutting out the rough form!

This is where we are right now. I should be able to use a good sharp Xacto knife to do the carving and Dragon Skin to do the shaping. It'll take a day or two to get some Dragon Skin in, but it'll be worth the wait, it's the perfect stuff for shaping mini cell foam!
Next update, I'll go through the basic carving and shaping of the boat and the rider, then we'll start looking at paint, coating, and weight options! Stay tuned!